Last updated November 21, 2026
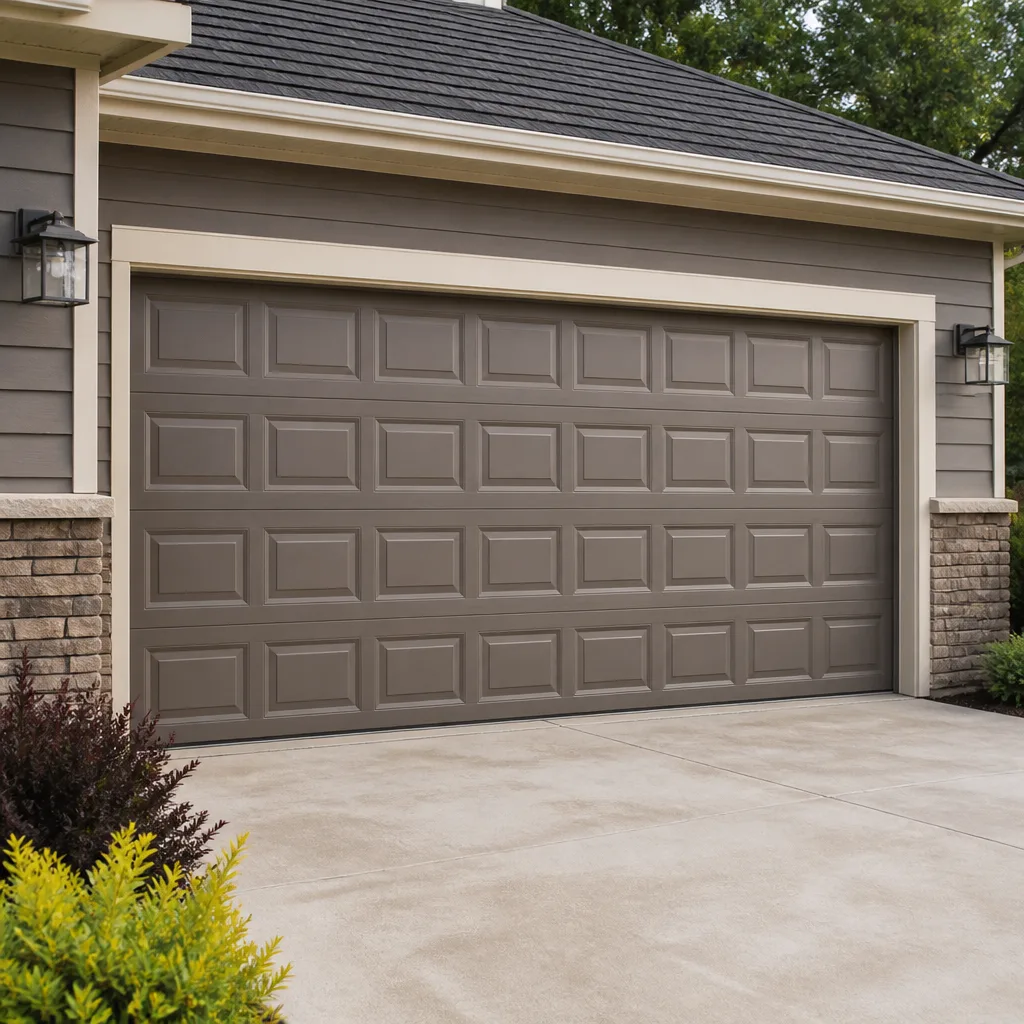 Raised-panel steel
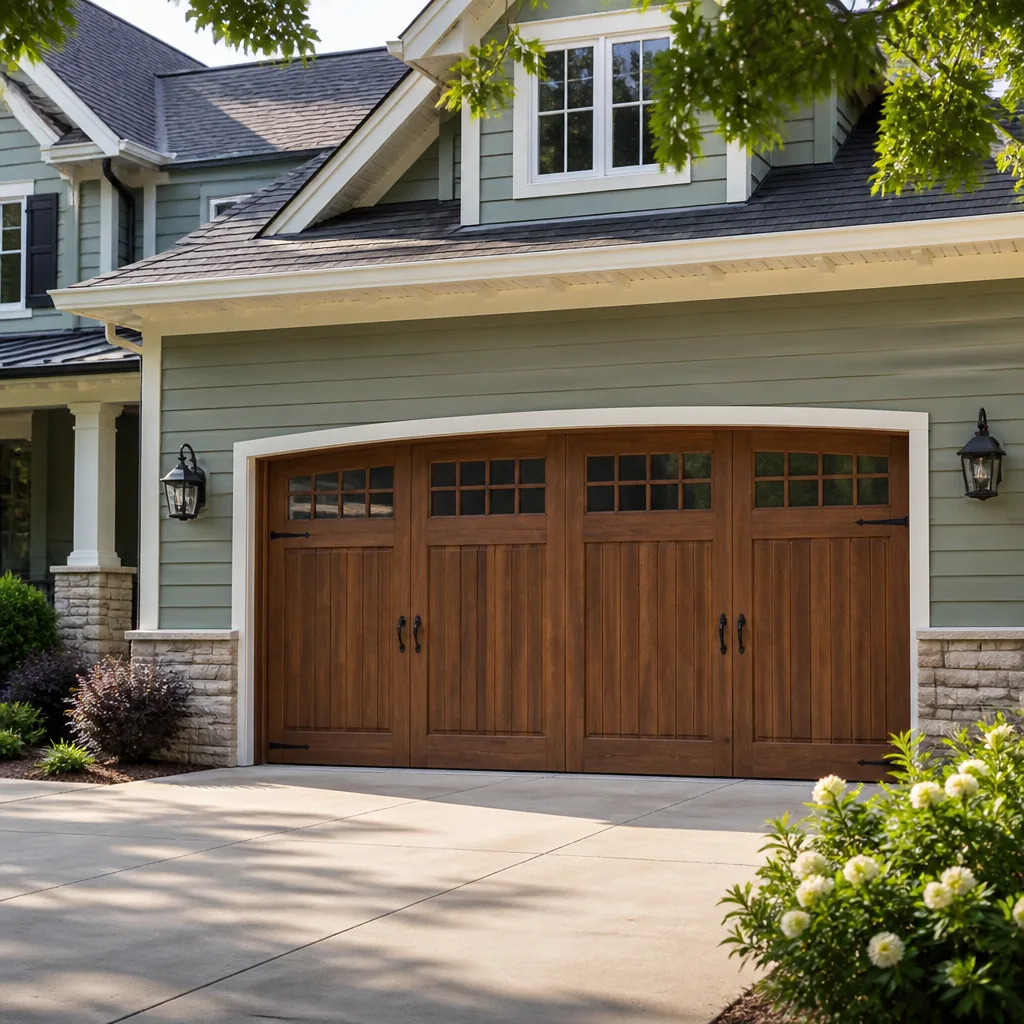 Carriage house
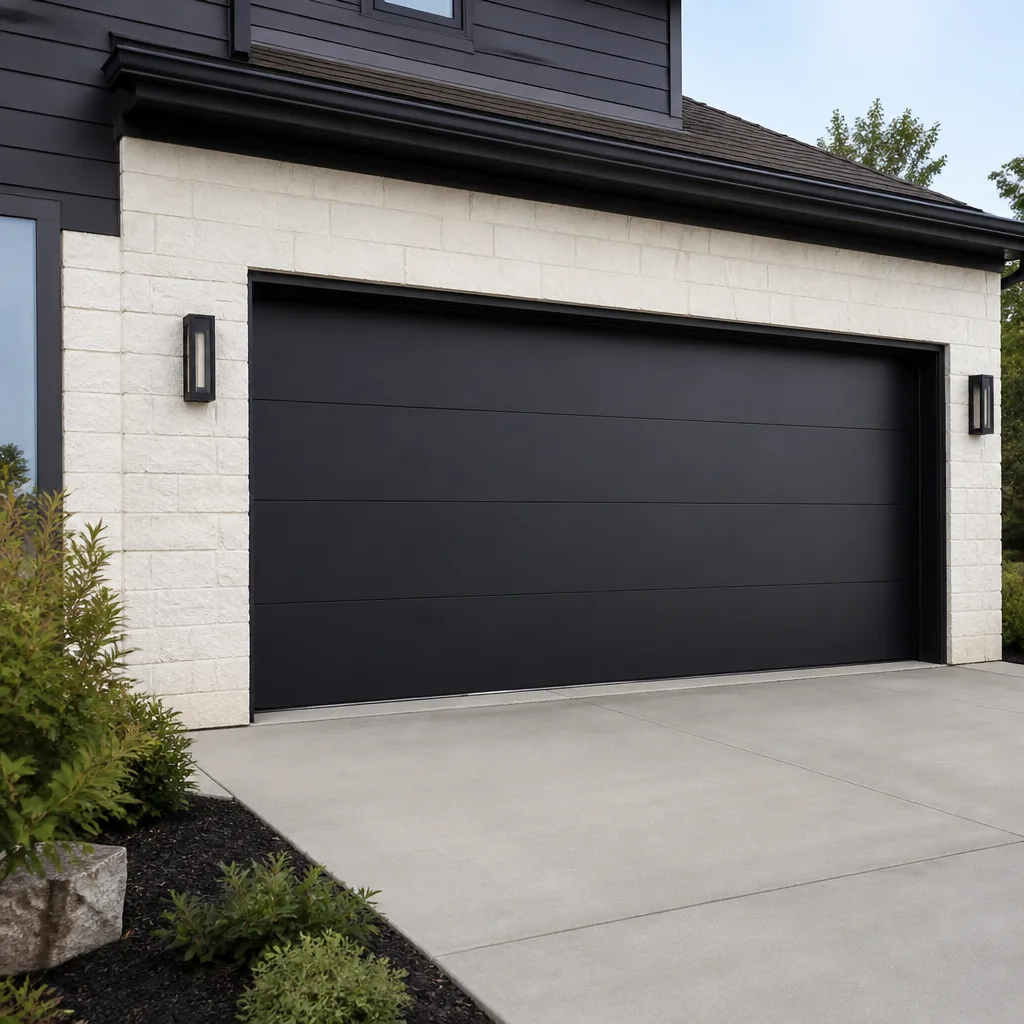 Modern flush
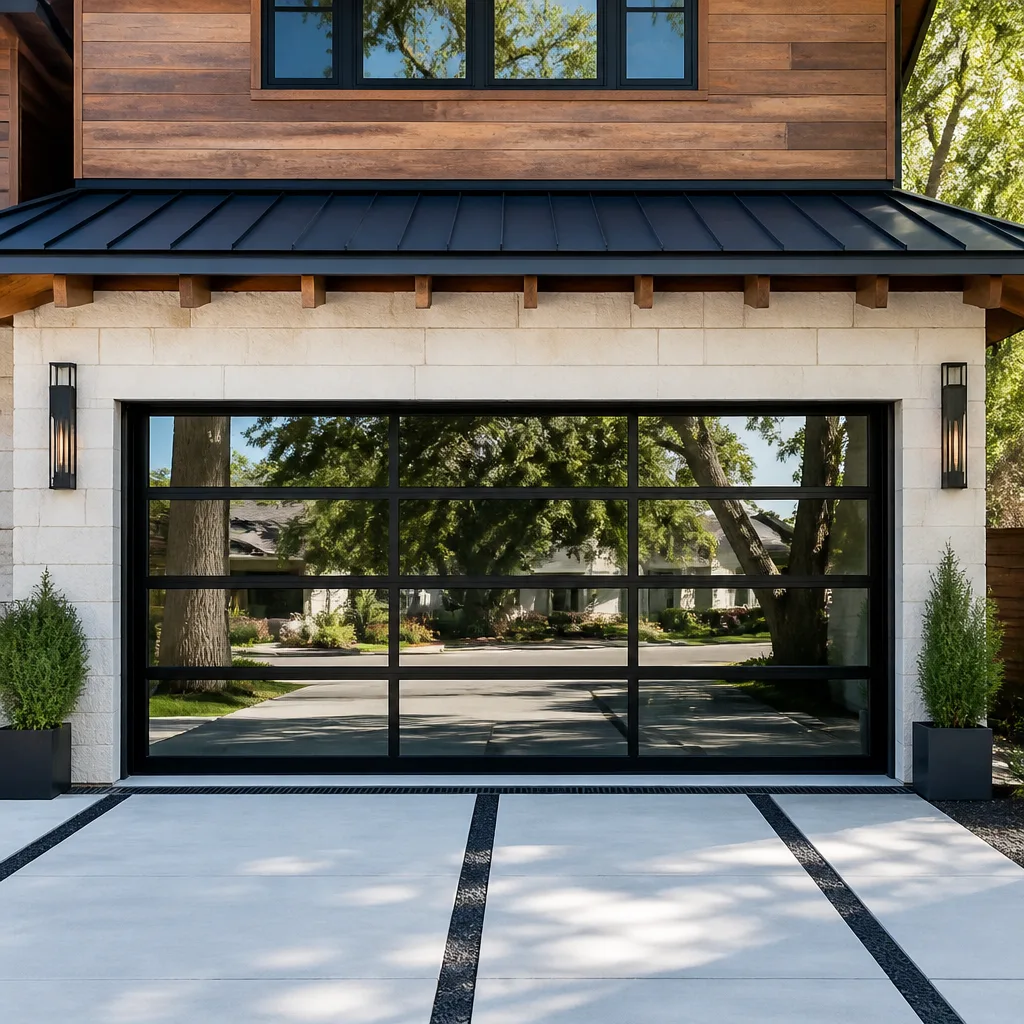 Full-view glass
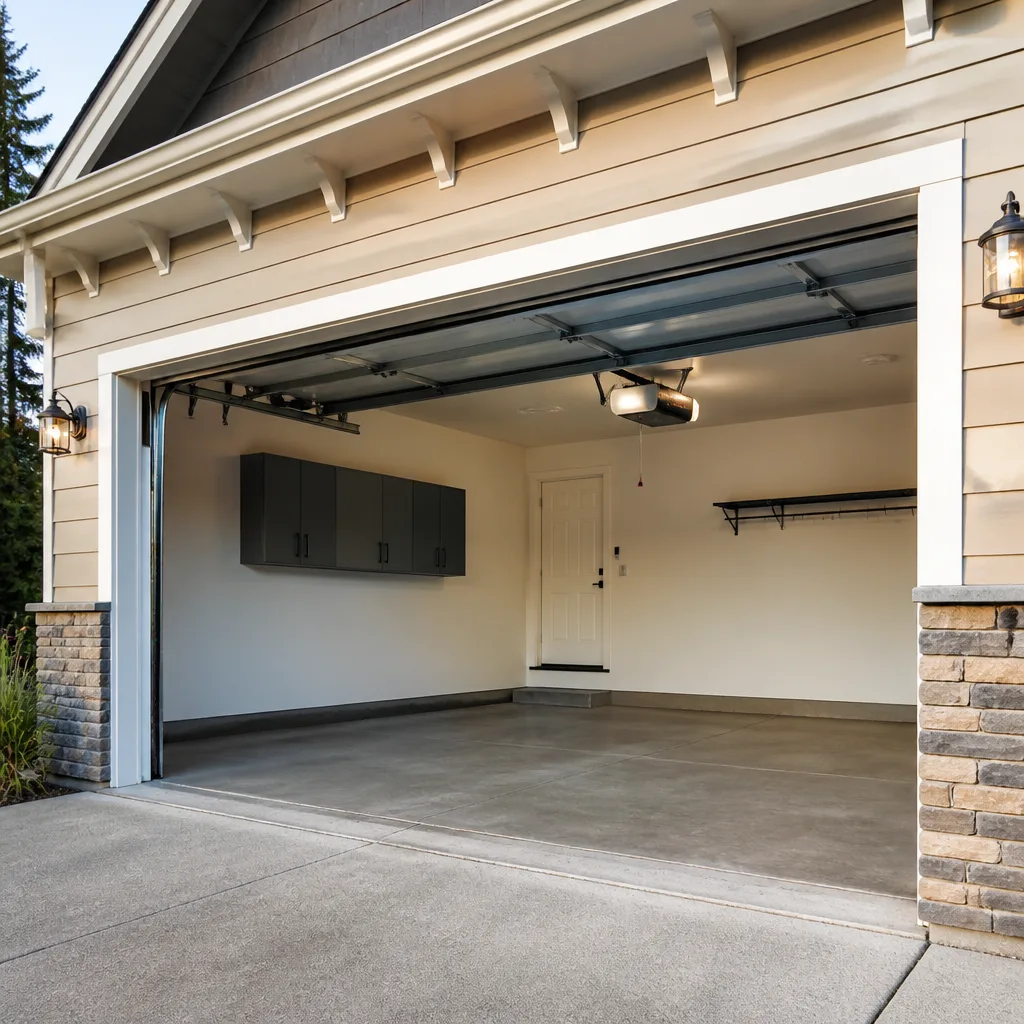 LiftMaster openers
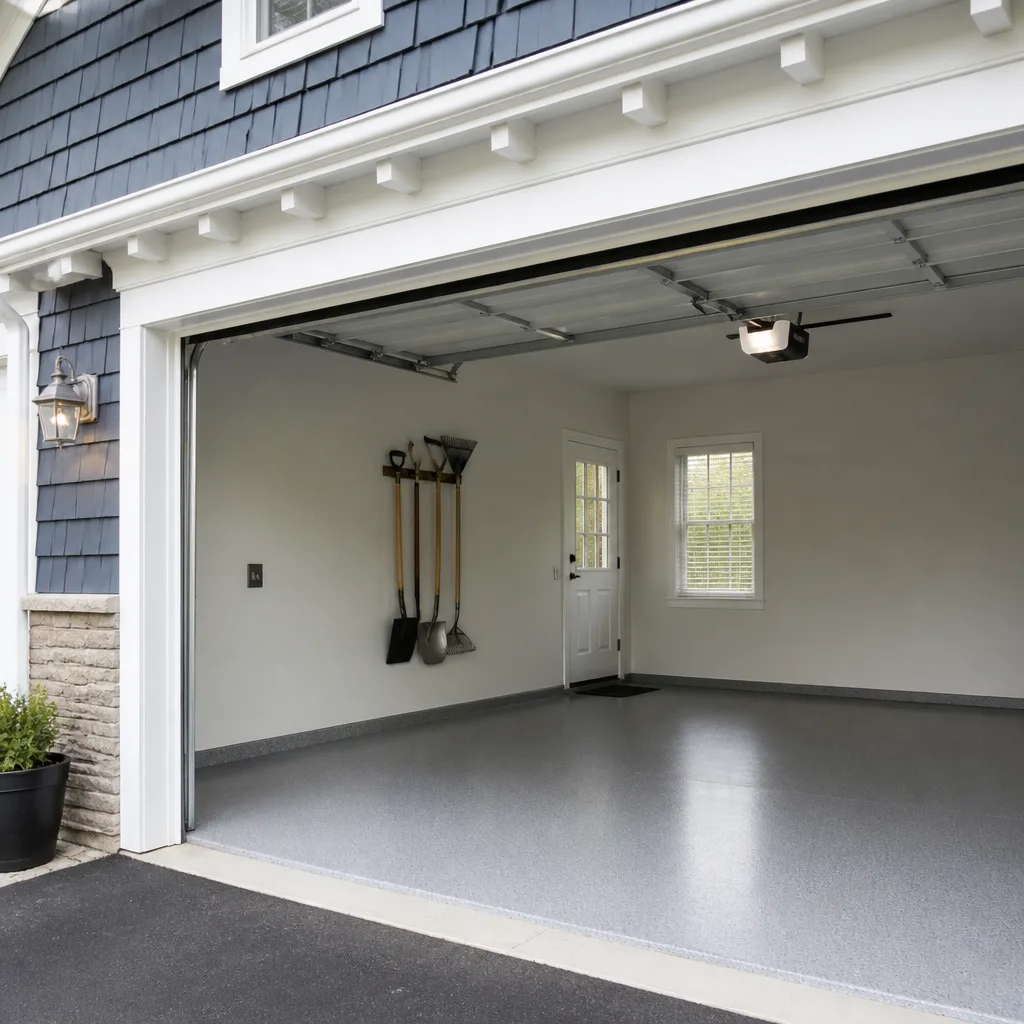 Chamberlain openers
Full 25-point door and opener safety check with every visit - springs, cables, rollers, tracks, and your LiftMaster or Chamberlain opener included
You get a price before we start. It does not change when the pro arrives.
Get your free estimateGarage Door Repair Maintenance Checklist for Crown Heights Homeowners
The number-one cause of emergency garage door calls in older Brooklyn neighborhoods isn’t a broken spring. It’s a hinge that gave out because nobody knew what a worn hinge looked like six months earlier. A torsion spring snaps all at once, but a hinge, a roller, or a cable frays slowly over hundreds of cycles, and the failure almost always announces itself first in ways a homeowner can spot with no tools and five minutes. This guide is built around those warning signs. We’ll cover the visual inspections that matter on Crown Heights’ mix of steel and wood doors, the spring test you can safely run without touching hardware, a lubrication routine that holds up through humid summers and cold winters, the opener safety test with pass/fail criteria, and a seasonal trigger system so you actually do this instead of filing it away. Read it once now, then keep it somewhere you’ll find it when the door starts sounding different.
Quick Answer
A garage door maintenance checklist for Crown Heights homes should cover six things: a monthly visual inspection of hinges, rollers, cables, and weather seals; a spring tension check done by ear and by eye (never by hand on the hardware); lubrication every four to six months with a product built for both humid summers and freezing winters; a monthly opener force and auto-reverse test; balance and alignment checks; and a full professional tune-up once a year. The routine catches most failures weeks before they strand your car, and anything that involves springs, cables, or the torsion assembly is a call to a trained technician, not a DIY project.
Styles & brands we work with
- Raised-panel steel
- Carriage house
- Modern flush
- Full-view glass
- LiftMaster openers
- Chamberlain openers
Table of Contents
- Why Crown Heights Doors Fail Differently
- The Monthly Visual Inspection: What to Look For on Steel and Wood
- The Spring Tension Test You Can Do Safely (No Tools)
- The Four-Season Lubrication Schedule for NYC Weather
- Opener Force and Auto-Reverse Test: Step by Step
- Balance, Alignment, and Track Checks
- A Seasonal Trigger System That Actually Works
- What a Professional Tune-Up Covers
Why Crown Heights Doors Fail Differently
Crown Heights housing stock is not one thing. You’ll find wood-frame row houses on blocks near Eastern Parkway, brick rowhouses with detached garages, mid-century homes with steel doors, and newer construction with builder-grade panel doors. Each of those door types fails in its own pattern, and the maintenance routine that keeps them running has to account for that. A steel door in Crown Heights deals with a very different set of stressors than the same door in a dry climate. Summer humidity swells wood panels and can make them bind in the tracks. Winter freeze cycles work on the same wood in the opposite direction, shrinking joints and opening gaps where weather seals once sat tight.
The result is that doors in Crown Heights tend to show wear in two seasons, not one. Late summer is when swollen wood, warped panels, and stiff hinges become noticeable. Late winter is when the same door is loose, rattling, and letting cold air in. A checklist built for San Diego or Phoenix won’t catch this. One built for a Brooklyn freeze-and-thaw pattern will.
There’s a second local factor that matters more than most homeowners realize: the number of cycles the door runs. A car that leaves the garage twice a day, plus a mail check, plus a recycling run, plus a delivery, plus a kid running back inside for forgotten homework, adds up fast. More cycles mean springs, hinges, and rollers reach their wear limits sooner than a manufacturer’s general estimate suggests. A door that cycles six times daily wears a spring noticeably faster than one cycling twice. That’s the single biggest reason a Crown Heights door on a busy household can fail years before the “average life” a search result promises.
The Monthly Visual Inspection: What to Look For on Steel and Wood
Start with the door closed and stay on the ground. You’re looking, not touching, at this stage. This takes five minutes and catches the majority of problems that lead to emergency calls. Walk the whole width of the door and check the six areas below, then open the door and repeat from the inside.
On steel doors (Clopay, Raynor, and Amarr panels are common here), look at the seams where panels meet. Paint bubbling or a chalky white residue at a seam usually means moisture is getting behind the panel and rust is starting. Look at the bottom edge of the door where it meets the threshold, since that’s where road splash and salt from winter pavement collect. A small rust spot can be sanded and repainted. A rust-through at the panel seam is a replacement conversation. Also check the weather seal at the floor; it should press against the threshold with no daylight showing through.
On wood doors (many Crown Heights detached garages still have them), look for cupping at panel edges, splits along the stiles, and paint that’s peeling at the very bottom. Wood doors that haven’t been sealed in a few seasons take on water in the humid months and shrink in the cold ones, and both movements stress the hinges. Check the joints where stiles meet rails. If you can slide a fingernail into a gap that used to be tight, the door is working against itself.
Both door types need the same hardware check. On the inside:
- Hinges: Look for a black rust stain, white powder, or metal wear at the knuckle. A hinge that’s loose at the metal around the screws is on its way out.
- Rollers: Nylon rollers should look smooth and round. Steel rollers (common on older doors) show flat spots. Either way, a roller that looks cracked or chipped needs replacing.
- Cables: Inspect each side cable for fraying, kinks, or rust. A cable that looks like a fuzzy fray is a call to a technician; do not try to adjust it yourself.
- Tracks: Tracks should be straight. A bend at the curve (the part that transitions the door from vertical to horizontal) will catch the roller and cause the whole door to bind.
- Weather seals: Look at the perimeter seal and floor seal. Cracks are normal wear and cheap to replace. Missing chunks or daylight gaps matter because they let water and cold air in.
If any single item on this list looks bad, note it. If three or more do, that’s a sign the door is due for a professional tune-up, not just a spot fix. For a broader look at what repair on a Crown Heights door typically involves, our Garage Door Repair Crown Heights page covers the common service calls.
The Spring Tension Test You Can Do Safely (No Tools)
This section needs a clear safety line up front: never touch a torsion spring, a cable, or any part of the spring assembly. Garage door springs are under extreme tension, and a spring that lets go while someone is working on it can cause serious injury. That’s why spring repair is a professional job. But you can absolutely tell whether your springs are still healthy without going near the hardware, using sight and sound only. Here’s how.
Test 1: Listen. With the door closed, stand a few feet away and watch and listen as you run the opener. A healthy spring operates quietly. A stretched or worn spring produces a metallic twang or a sharp snap when the door reaches its end positions. If the door “pops” at either end of the cycle, the spring tension has changed and needs to be checked.
Test 2: Watch the door lift. Press the opener and watch the whole travel. The door should rise smoothly at a consistent speed. If it stutters, jerks, or slows noticeably partway up, the springs are no longer balancing the door’s weight evenly. This is the most common warning sign we see on doors that are still “working” but are weeks or months from a failure.
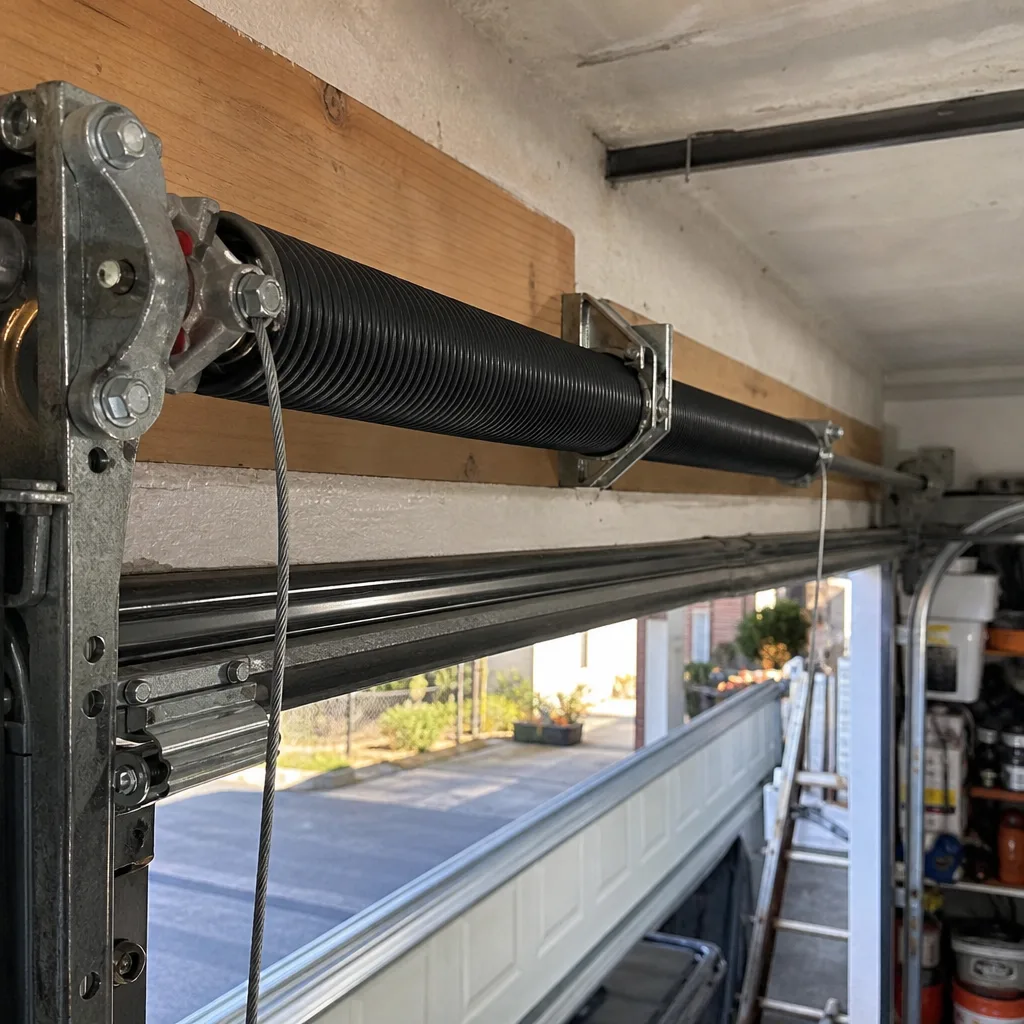
Test 3: Look for a visible gap. On a torsion spring (the horizontal spring mounted along the header above the door), look at the coil. A healthy spring has tight, even coils. A worn spring will show a gap between coils along part of its length. A broken spring shows an obvious visible split. On an extension spring (the vertical springs along the side tracks on some older doors), look for a clearly missing or hanging spring. Either condition means the door should not be operated until a technician has replaced the spring.
Test 4: Manual half-open test. Disconnect the opener (pull the red release handle at the door’s center rail), lift the door by hand to about hip height, and let go.
- Pass: The door stays roughly where you left it, or settles very slowly.
- Fail – door drops fast: Springs are too weak or have failed.
- Fail – door rises on its own: Springs are over-tensioned or the door’s balance is off.
Reconnect the opener afterward. If the door fails either part of this test, do not operate it. Call a technician. Spring repair is what we do routinely, and it’s the one part of the door system we’d rather see from a safe distance than have anyone improvise. If your door has already snapped a spring or won’t lift at all, that’s an emergency situation and worth calling on right away. Our garage door repair team handles spring replacement as a same-day call.
The Four-Season Lubrication Schedule for NYC Weather
Lubrication is where most homeowners either skip it entirely or make it worse. WD-40 spray, the household go-to, is a cleaner, not a lubricant, and on garage door hardware it attracts grit and thins out fast. What you want is a product built for exterior metal moving under load in a wet, freezing environment. The schedule below assumes Crown Heights’ humid summers and cold, salty winters. Clopay and Raynor installs here often specify similar routines.
Product types that work in this climate:
- Lithium grease or a lithium-based spray: Best for hinges, rollers, and the torsion bar bearings. Thick enough to stay put through summer heat; resists washout in rain.
- Silicone spray: Best for tracks and weather seals. It doesn’t attract dirt and won’t damage rubber or vinyl seals. Do not use it on hinges or rollers (they need the heavier grease).
- Avoid: WD-40 as a primary lube, cooking spray, motor oil, and any product that contains a solvent. Avoid putting any lubricant on the track surface that the roller rides on; lubricate the roller bearings themselves, not the track.
Schedule (four times a year, aligned to the seasons):
- Spring (April): Clear out winter grime. Wipe down tracks with a damp cloth, then apply silicone spray lightly to tracks and seals. Apply lithium grease to each hinge knuckle and each roller bearing.
- Summer (July): Reapply silicone to the weather seals, which dry out and crack in peak humidity. Check for rust at any hinge that’s seen summer rain off a wet car.
- Fall (October): Full lithium pass on hinges, rollers, and bearings. Check the perimeter seal for splits before the freeze arrives. This is the most important lubrication of the year because it’s the one that carries you into winter.
- Winter (January): Light touch-up. Cold stiffens everything, and a small amount of fresh lithium grease on hinges stops the squeal that shows up in January.
Two things not to lubricate: the spring coils themselves (grease on springs holds grit and accelerates wear) and the opener rail (check your opener manual first, but most LiftMaster and Chamberlain rails want a dry or lightly-greased gear, not a wet film). If your opener is squealing, that’s usually a signal to look at the garage door opener repair page, since the noise could be a worn gear rather than just dry hardware.
Opener Force and Auto-Reverse Test: Step by Step
This is the single most important safety check on your garage door, and it’s the one most homeowners never run. The auto-reverse mechanism is what stops the door from crushing an object (or a person) in its path. It fails quietly. Run this test once a month, whether your opener is a LiftMaster, a Chamberlain, a Genie, or an older Craftsman. All four brands use the same basic safety system under different names.
Part 1: The contact test (auto-reverse).
- Open the door fully, then stand clear.
- Place a 2×4 board flat on the floor, centered where the door meets the threshold. A roll of paper towels also works.
- Press the wall control to close the door.
- Pass: The door contacts the object and reverses back up immediately. You may hear a small click from the opener as it responds.
- Fail: The door stops but does not reverse, or keeps pressing down. Stop using the opener until this is fixed.
- Fail: The door reverses before it ever touches the object. This usually means the sensitivity is set too high, or the safety sensors are misaligned.
Part 2: The optical sensor test.
- Start with the door open and the sensors (the small units at the bottom of each track) pointed at each other across the door opening.
- Wave your hand through the invisible beam between the sensors while pressing close.
- Pass: The door stops and reverses as soon as the beam breaks. The status LED on each sensor should be steady (usually green or amber, depending on brand).
- Fail: The door keeps closing. Check that the sensors have a clear line of sight, aren’t blocked by a bag of recycling, and aren’t fogged with dust. If both LEDs are off, they’ve lost power or alignment.
Part 3: The force test (most homeowners can skip this one). The opener has a force setting that determines how hard it pushes before reversing. On a LiftMaster or Chamberlain unit, that setting is usually on the back or side panel as an adjustment dial or two small set screws. Only touch this if your door failed the contact test and you’ve already ruled out sensor and alignment issues. Turning it up is the wrong move; if the door is pressing down with excessive force, the door’s balance is the real problem. That’s a technician call, not a dial adjustment.
For openers with smart connectivity, also check that the wall control and the app both reflect the door’s actual position. A smart unit reporting “closed” when the door is open is a connectivity issue rather than a mechanical one, but it’s still worth fixing. If your Craftsman opener is over a decade old, the sensor eyes may be the original ones, and those age out. Genie installs of similar age often have the same problem.
Balance, Alignment, and Track Checks
A well-balanced door wants to stay where you put it. A door that’s out of balance puts extra load on the opener, wears the springs faster, and makes every safety failure more dangerous. Here’s how to check balance and alignment, again from the ground with no tools.
Balance test (quarter-point method).
- Disconnect the opener using the red release cord.
- Raise the door by hand to about knee height and let it go. It should drop gently. If it slams or won’t drop, the balance is off.
- Raise the door to hip height and let go. It should settle slowly or stay put.
- Raise the door to shoulder height and let go. It should stay put or rise slowly.
- Raise the door to fully open and let go. It should stay open without sagging.
A door that passes at all four points is well-balanced. A door that fails at one point is out of adjustment. A door that fails at three or more needs a professional tune-up, since the spring tension or cable balance is off and a technician should reset it.
Track alignment check.
- Look down each vertical track from the top. Both tracks should be parallel and vertical. A track that leans in or out at the bottom is out of alignment and will cause the door to bind.
- Look at the horizontal tracks above. They should be level and parallel. A sag in one of them is usually visible as a bend where they meet the vertical track.
- Run your fingertip lightly along the inside surface of each track. You should feel smooth metal. Any dent, bend, or rough spot means a roller is catching. Do not try to straighten a bent track yourself; it’s a technician job and an easy one for someone with the right tools.
Panel alignment check. With the door closed, stand back about ten feet and look at the door’s horizontal lines. The panel seams should be level across the full width. A door that’s higher on one side than the other by more than a quarter inch is out of alignment and the cables or springs need attention. This one matters for older wood doors in Crown Heights, which warp on one side and not the other.
If your door fails two or more of these tests, don’t wait for a failure. Our garage door installation team can also advise whether a door past a certain point is better replaced than repaired, especially if you’re already looking at spring, hinge, and panel replacement in a single year.
A Seasonal Trigger System That Actually Works
The reason most maintenance checklists sit unread is that they depend on homeowner memory. Nobody remembers to run an auto-reverse test in the middle of a busy month. The fix is a trigger system: attach each task to something you already do, at a time of year you can’t miss.
Here are the triggers that work best in a Crown Heights routine:
- First weekend after daylight saving ends (November): Full visual inspection, full lubrication, opener force and auto-reverse tests. It’s the same weekend you’re changing smoke detector batteries and flipping the clocks, so the door is just one more item on a list you already have.
- First weekend after daylight saving starts (March): Quick visual inspection and lubrication touch-up. This catches the winter damage from freeze-thaw cycles while the weather is still mild enough to do something about it.
- First of every month: Auto-reverse and sensor test only. Two minutes, done while you’re putting something in the garage anyway.
- After any storm or hard freeze: Visual inspection. Skips the schedule entirely because the weather is the trigger.
- Before your car leaves on a road trip: Quick balance test and force test. A door that fails while the driveway is empty is a security problem; a door that fails while your car is gone means you can’t get the car back in.
Pair each of those with a phone note or a calendar reminder. That’s the whole system. It sounds simple enough to skip, and that’s exactly why most Crown Heights homeowners end up calling for emergency service on a Sunday afternoon instead of replacing a hinge on a Saturday morning.
What a Professional Tune-Up Covers
A professional tune-up is a safety check and a mechanical adjustment, not just a lubrication visit. The right visit covers the following, and a homeowner can use this list to know what’s included in the price they’re quoted. Our technicians have up to 15 years of experience, and we work on the brands already on your door: LiftMaster, Chamberlain, Genie, Clopay, Amarr, Wayne Dalton, Craftsman, and Raynor.
- Spring inspection and adjustment: Spring condition, tension, and (when needed) replacement. This is the part of the tune-up that matters most, and it’s the part that should never happen DIY.
- Hinge and roller check: Tightening, lubrication, and replacement of any hinge or roller that’s past its wear limit.
- Track alignment: Straightening any bent track and verifying balance.
- Cable inspection: Checking for fraying, rust, and slack. No adjustment happens here unless the technician has properly released the tension first.
- Opener force and travel adjustment: Dialing in the up and down limits, verifying the safety sensors, and testing the auto-reverse system.
- Weather seal check: Perimeter and floor seals, since this is where most Crown Heights water intrusion starts.
One visit covers the door and the opener, so a mechanical failure and a lift issue get handled together rather than as two appointments. Pricing is quoted before any work starts, and the written estimate sets the final cost. For anything beyond the basics (a snapped spring, a door that won’t close, an opener that’s gone silent), emergency service is available and we treat that kind of call as the same-day problem it usually is.
Common Mistakes to Avoid
- Spraying WD-40 on the tracks. It’s a solvent, not a lubricant, and it attracts grit that wears rollers faster. Use silicone spray on tracks and lithium grease on hinges and rollers.
- Trying to adjust spring tension yourself. Springs hold enough stored energy to cause serious injury. The half-open and quarter-point tests above are safe; anything involving a winding bar is not.
- Ignoring a slow, jerky door on the way up. That’s the earliest sign of spring wear, and it usually appears a month or two before the spring fails. Fixing it early often means just a spring adjustment instead of a full replacement.
- Letting the auto-reverse test go unrun for months. It’s the safety feature that protects kids and pets, and it fails silently. Run the test every month.
- Forgetting the tracks after a hard winter. Salt and grime collect on the rollers and in the tracks and don’t clear themselves. A spring cleaning pass with a damp cloth and fresh lubricant is the fix.
- Assuming a wood door is “fine” because it still opens. Wood doors in Crown Heights look fine right up until the first freeze cracks the seal and lets water in behind the paint. A visual check in October saves a lot of pain in January.
- Replacing a door when a tune-up is all it needs. A door that looks tired is often just out of balance and overdue for lubrication. Getting a professional opinion before ordering a new door is always worth the call.
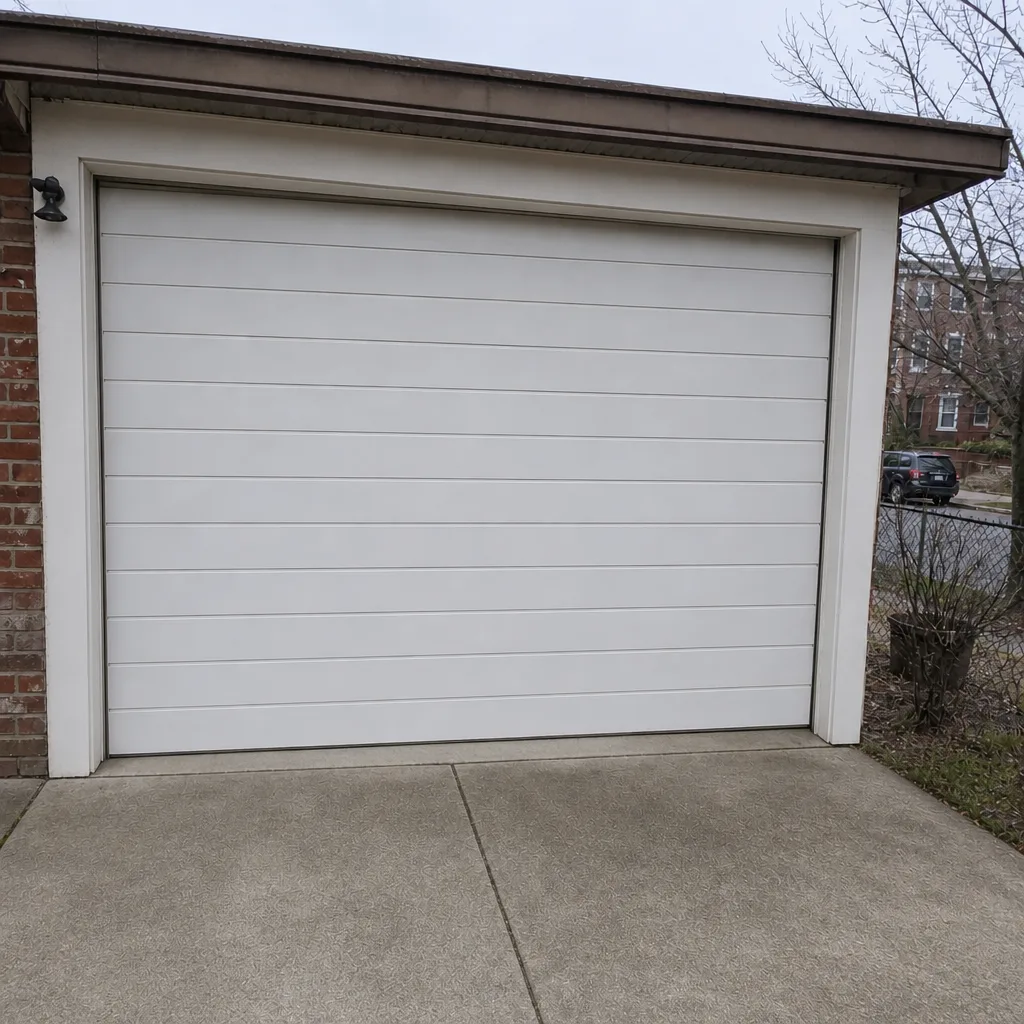
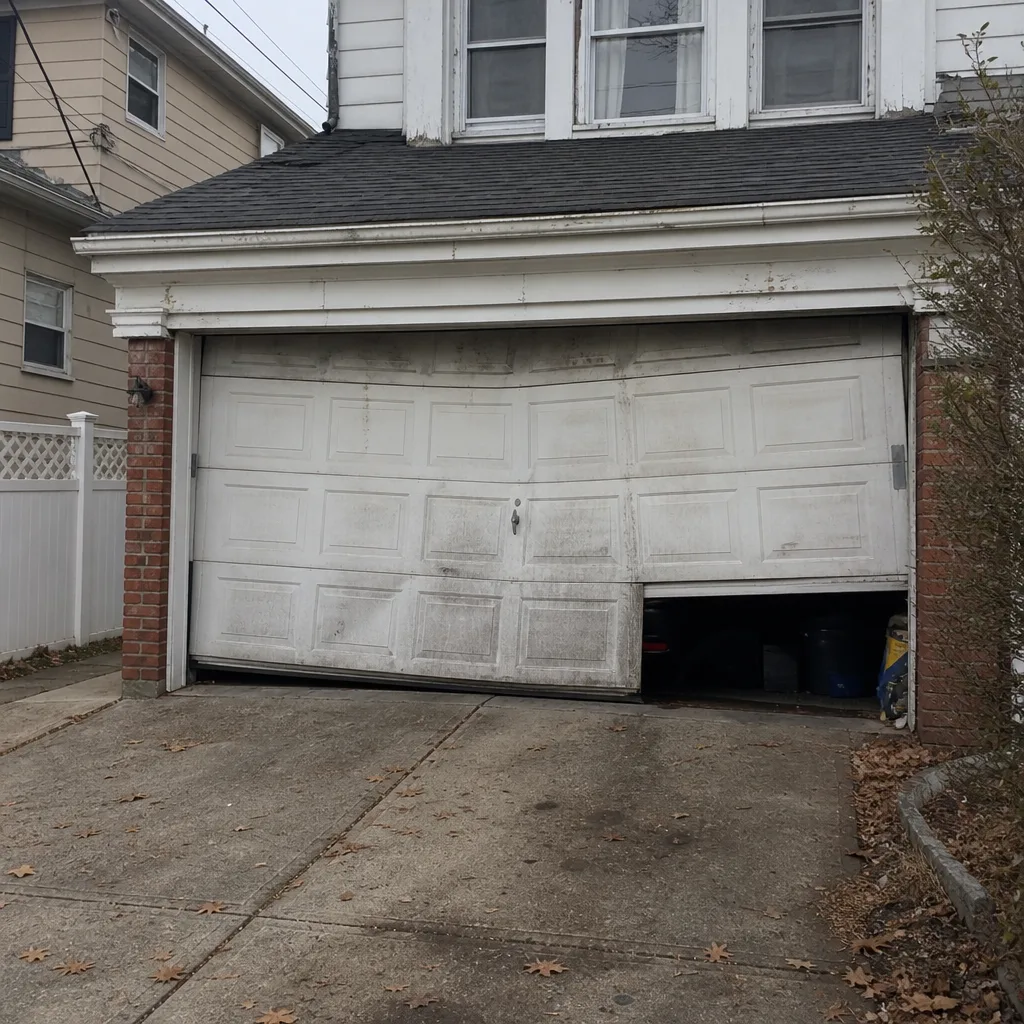
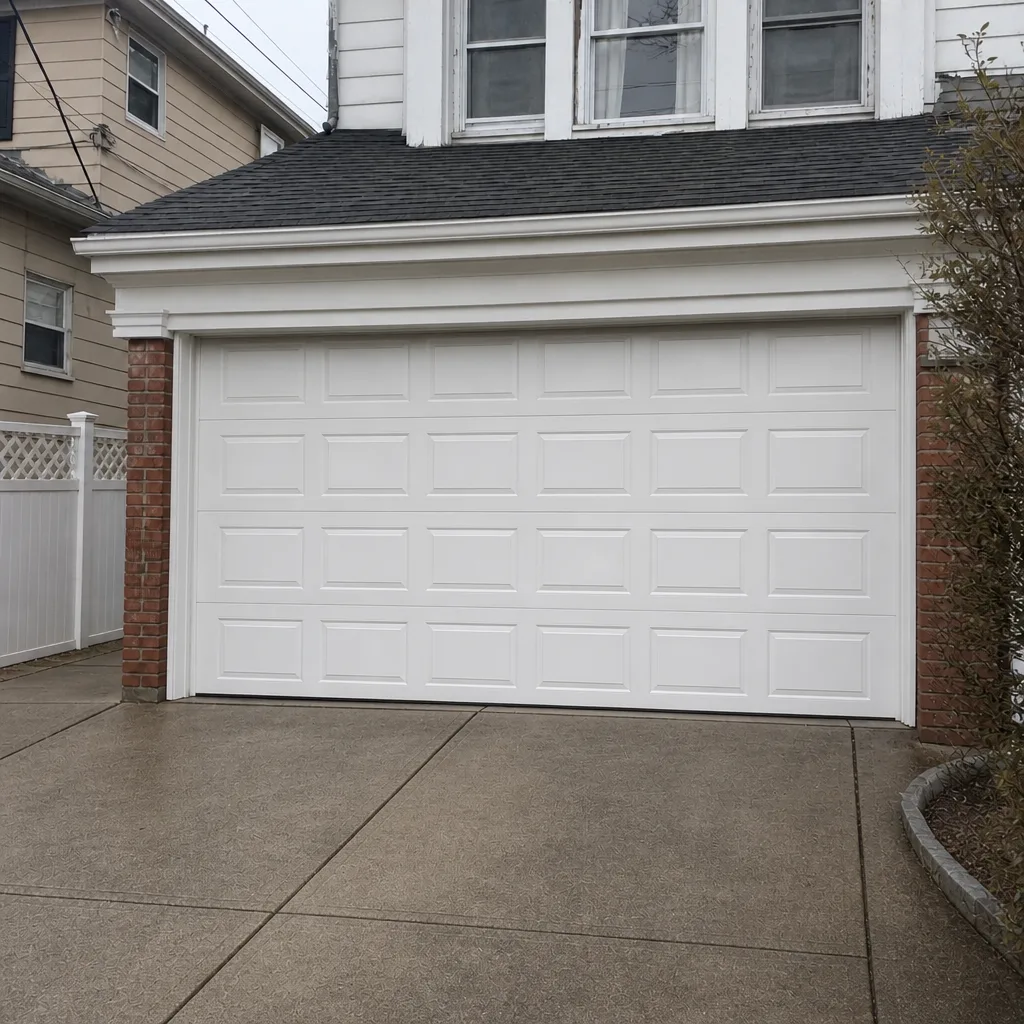
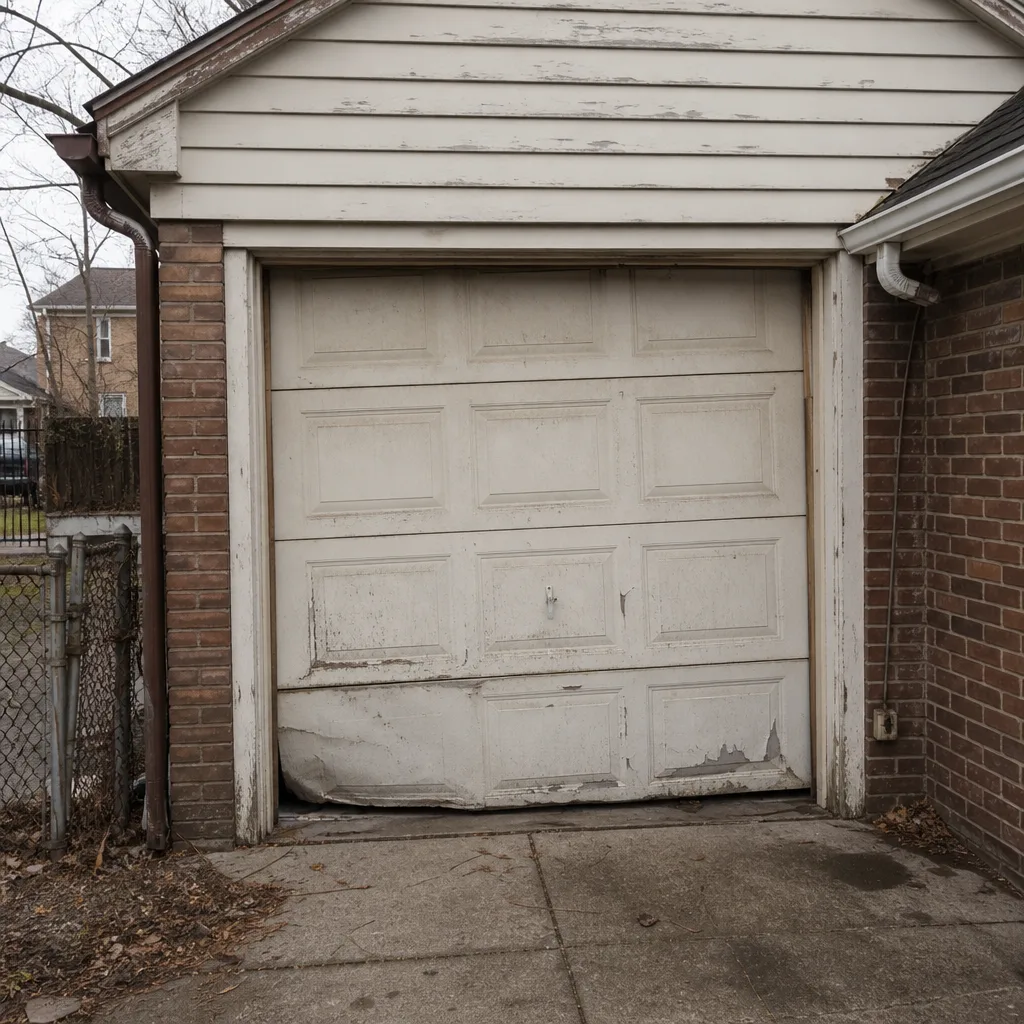
See the difference
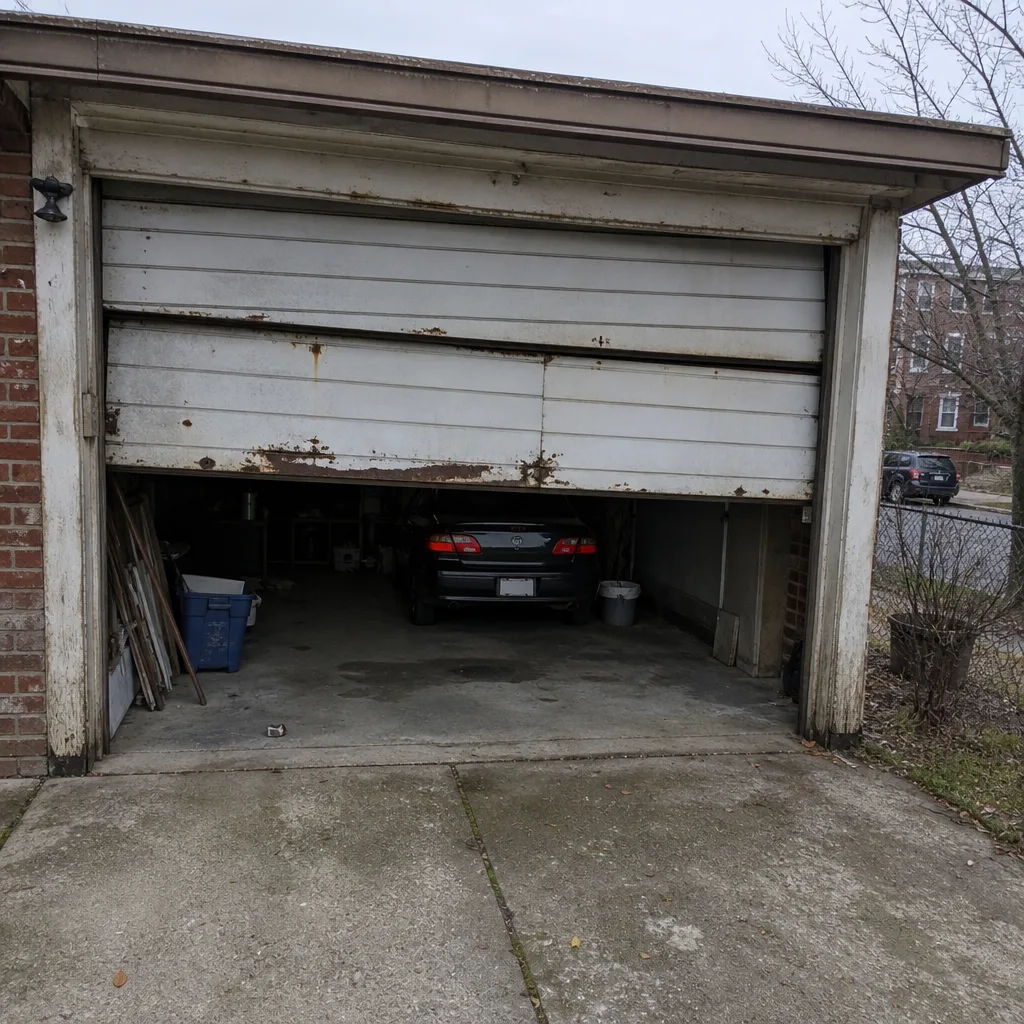 Before
 After
 Before
 After
 Before
 After
When to Call a Professional
Call a technician the moment any of the following is true: a spring looks broken or has an obvious visible gap; a cable is frayed, kinked, or off its drum; the door won’t open or close at all; the auto-reverse test fails; a door drops fast during the quarter-point test; a track is bent and the door is binding; or the opener runs but the door doesn’t move. Also call if your door is 15+ years old on the original springs and has never been inspected. None of these are “wait for the weekend” situations, and spring or cable work isn’t safe to DIY. Garage Door Repair Crown Heights offers free estimates in Crown Heights – call (833) 721-7259. Our technicians work on the brands already on your door, one visit covers the door and the opener, and the price is quoted and agreed before any work starts.
Frequently Asked Questions
Run the short version monthly (sensor and auto-reverse test) and the full version twice a year. Attach the full checklist to the first weekends after daylight saving changes in March and November, which are when the weather in Crown Heights actually triggers new wear.
Most of it you can do yourself: visual inspections, lubrication, and the auto-reverse and sensor tests. Anything involving the springs, cables, or track alignment needs a technician. Those parts are under tension, and adjusting them without training is how people get hurt.
WD-40 is a cleaner and a light oil, not a heavy-duty lubricant, and it thins out quickly under load. Lithium grease stays where you put it and holds up through humid summers and freezing winters. Use WD-40 to clean a hinge if you like, then apply lithium grease after it dries.
The three warning signs are a metallic twang or snap at the end of door travel, a jerky or slowing rise on the way up, and a visible gap between spring coils. Any of those means a technician should check the door before it fails completely.
Yes for the visual inspection, no for the hardware checks. On steel doors, look for rust at panel seams and along the bottom edge. On wood doors, look for cupping, splits, and peeling paint at the bottom and at the joints. Hinges, rollers, cables, and opener tests are the same on both.
You’ll likely still be fine for a while, but you’ll lose the early warning that catching a worn hinge or a stretching spring provides. In Crown Heights’ freeze-thaw cycle, that lost time is usually the difference between a repair and a stuck door. Call (833) 721-7259 for a free estimate if you’re not sure where you stand.
The Bottom Line
A garage door maintenance checklist for Crown Heights homes works best when it’s built around what actually fails here: humid summer swelling, winter freeze-and-thaw, and a lot of daily cycles. The monthly routine is a two-minute safety test on the auto-reverse system. The seasonal routine is a full visual inspection, a proper lubrication pass with the right products, and a balance check using the quarter-point method. The annual professional tune-up handles the parts you should never touch, which is anything involving springs or cables. Attach the whole thing to triggers you already have in your calendar and it stops being a checklist you forgot and starts being the reason your garage door isn’t the thing you’re dealing with on a Sunday.
Contact
If your door failed any of the tests above, or you’d rather have a technician run the checklist once and tell you where the door stands, call (833) 721-7259 for a free estimate in Crown Heights. We work on the brands already on your door, one visit covers both the door and the opener, and the price is quoted before any work begins.
Written by the team at Garage Door Repair Crown Heights.